First of all I am doing the images of the micro SD card by using the build in SD card reader of a MacBook Pro. Using an external card reader would work as well of course.
First of all you need the „pv“-tool. I like HomeBrew for this. You could install pv via HomeBrew like this:
brew install pv
Second. Insert the micro SD card via a adapter card into the card reader. Open your Disk-Utility tool. Eject the mounted volumes of the SD card ( named „NO NAME“ in the screenshot ). Otherwise the script will report the resource would be busy in the next step.
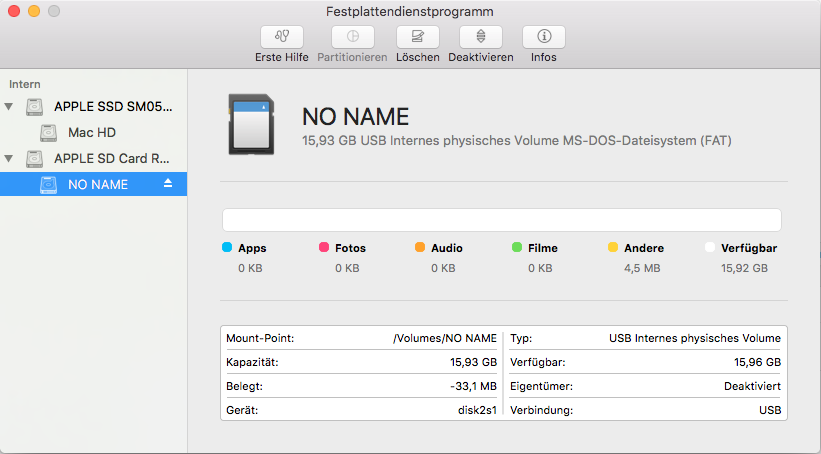
You need to know the device number. Within the Utility screenshot you can see the device is „disc2s1“. The relevant part is the „disc2“. And I know the micro SD card i want to copy is a 16gb card.
To ready in the image you can use the following command line:
sudo dd if=/dev/rdisk2 bs=8m | pv -petra -s 16g > Image.dd
Maybe you need to replace:
- rdisk2 – with the device name your SD card actually has
- -s 16g – with the size of your SD card you want to copy
- Image.dd – with the image name you want to give
The „-s 16g“ is not relevant for the copy process at all. The pv part is only showing you the progress and speed of the copy process.
To restore the copied image from harddrive onto the SD card, you can use the following command.
pv -tpreb Image.dd | sudo dd of=/dev/rdisk2 bs=8m
cheers.
Sebastian