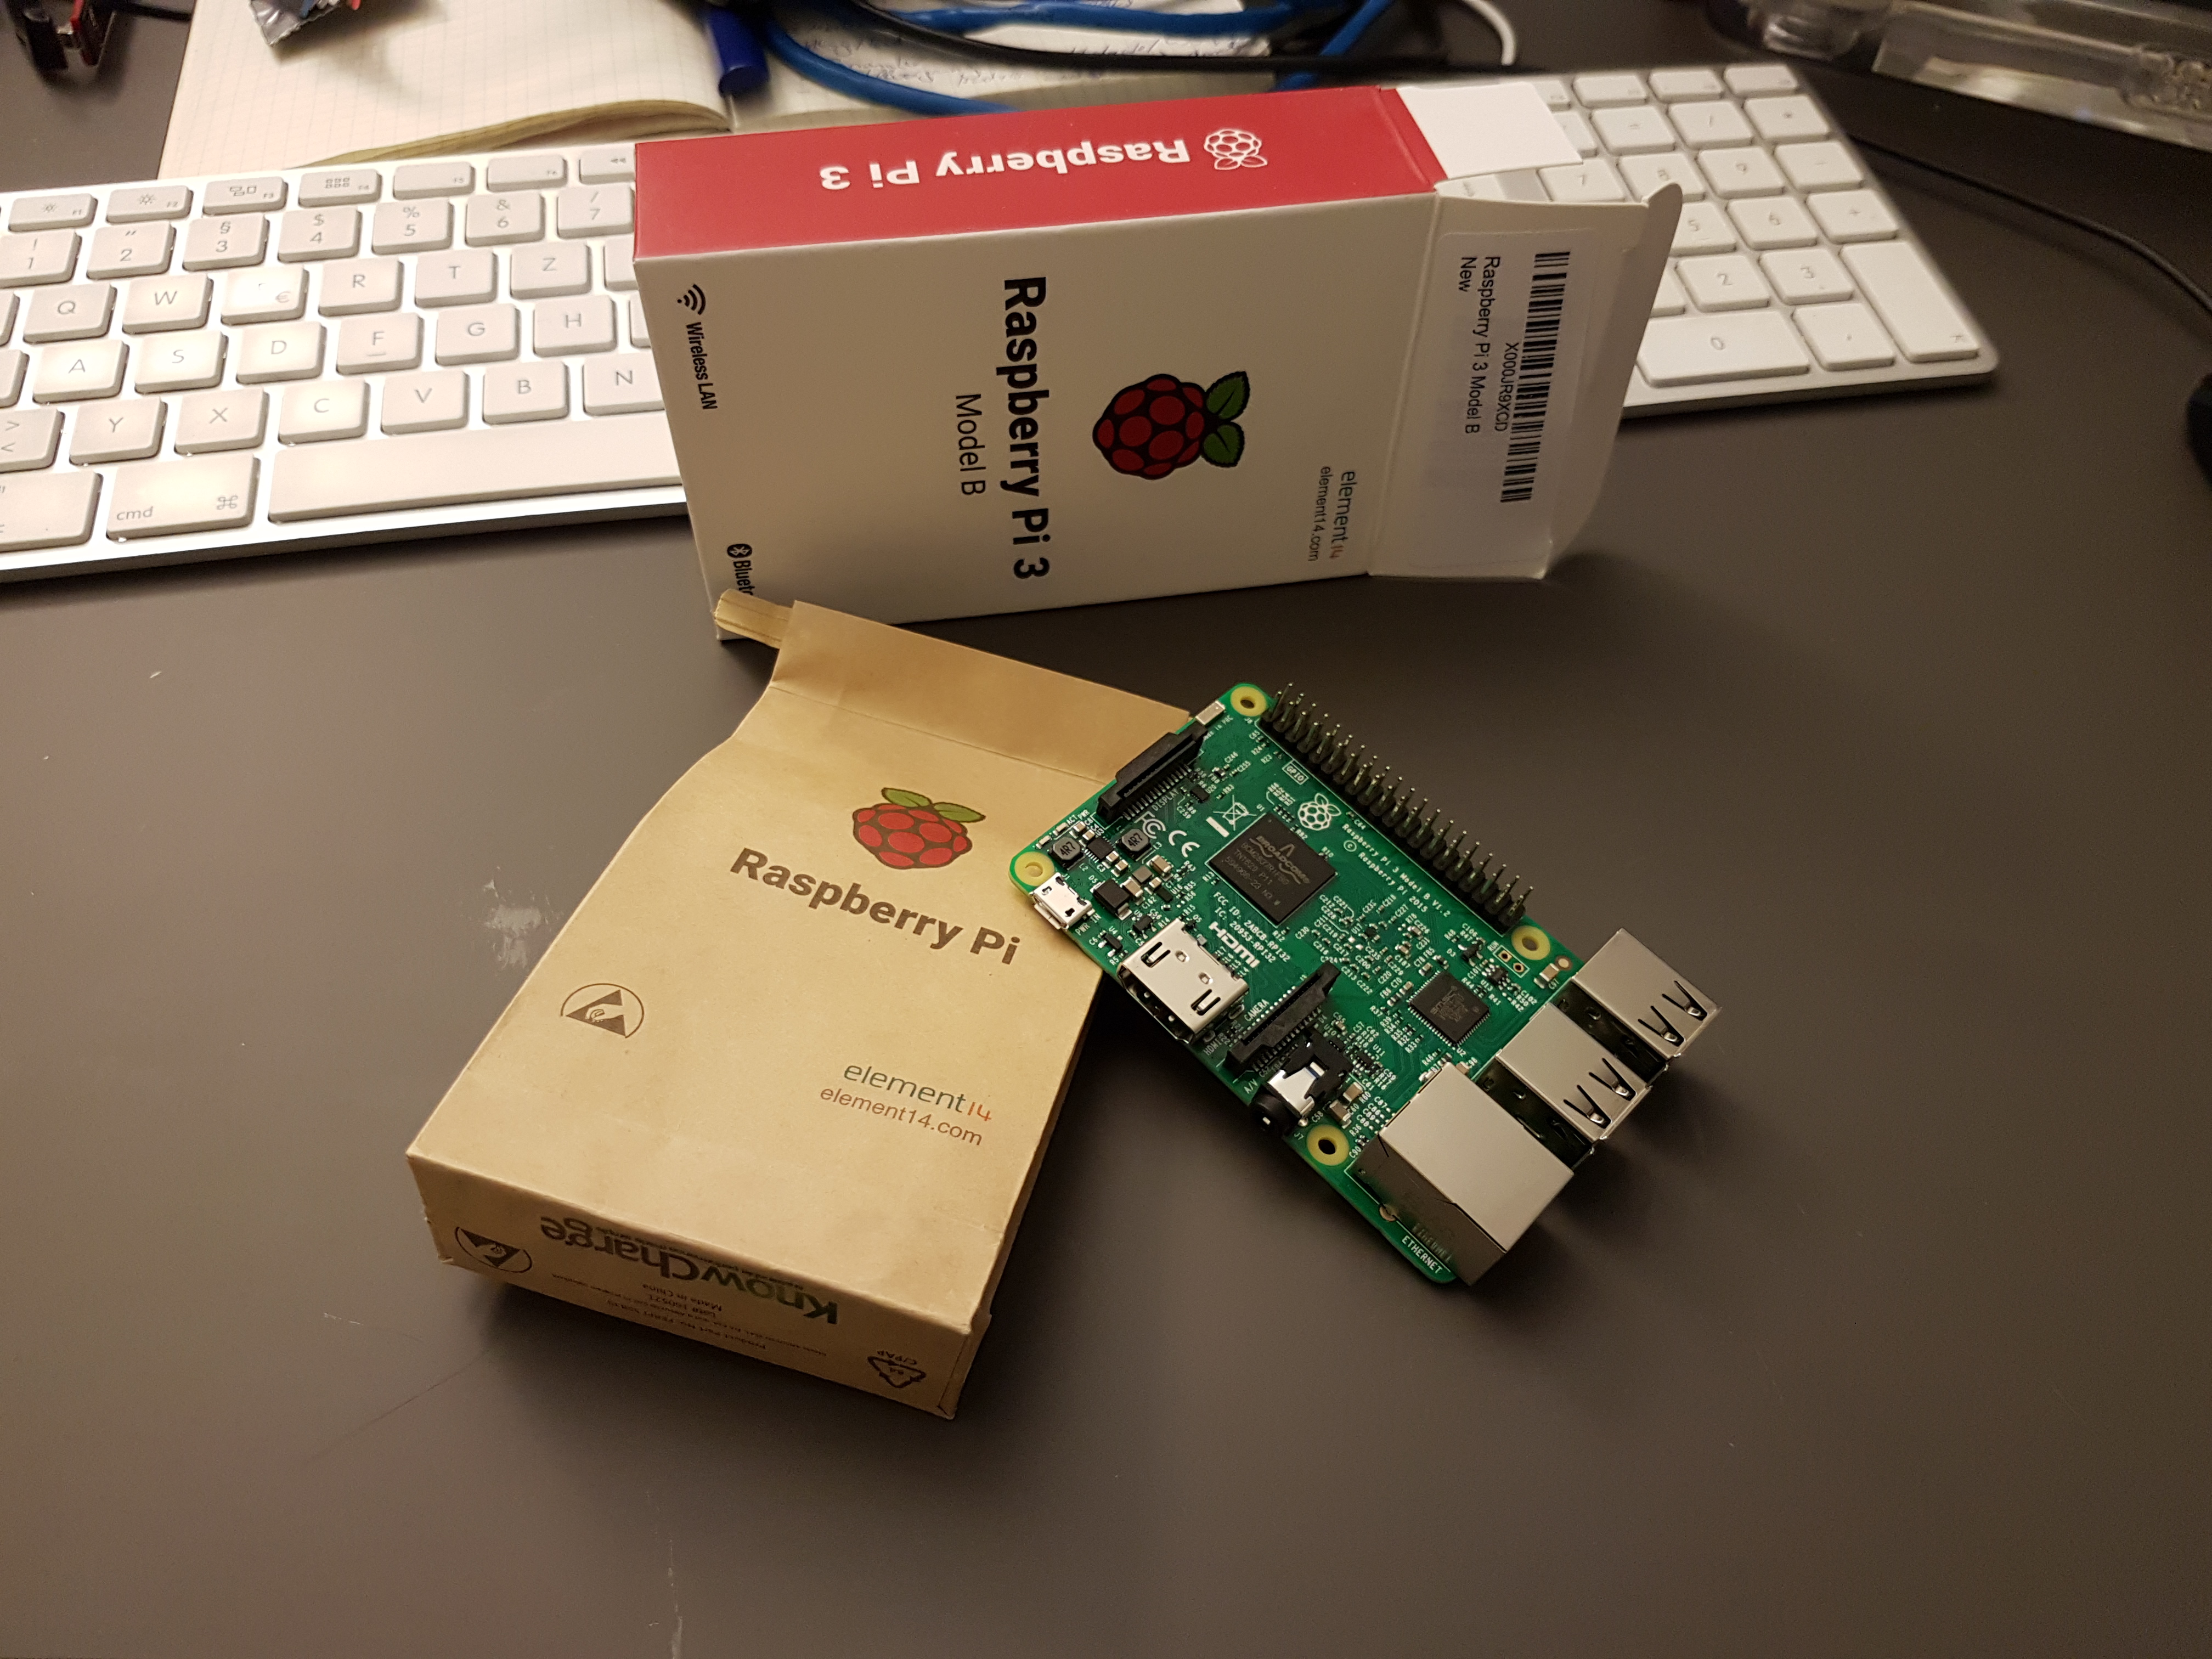
I use the Raspberry Pi so often in kiosk mode running any kind of installation, I already have a ready to use image for this. But from time to time I need to set up one from scratch. Therefore for myself and for whom it may help find here my steps. Open a terminal on the raspberry pi or connect via SSH and type in the following commands:
Bring your Raspi up to date:
sudo apt-get update

sudo apt-get upgrade
Install Google Chrome Browser:
sudo apt-get install chromium-browser -y
In case you want to show something from your local raspberry, you need a webserver too. Setup apache and php works like this:
sudo apt-get install apache2 -y

sudo apt-get install php7.0 libapache2-mod-php7.0 -y
Now we need to configure the chrome start on X startup. Open the file with your preferred editor (nano here):
sudo nano /home/pi/.config/lxsession/LXDE-pi/autostart
For Raspbian Stretch use the global file
sudo nano /etc/xdg/lxsession/LXDE-pi/autostart
Comment the following line, by adding a „#“ in front. This will disable the screensaver:
@xscreensaver -no-splash
To let the display stay active also add the following lines:
@xset s off

@xset s noblank

@xset -dpms
Now add this line to start the chrome browser at startup:
@chromium-browser --noerrdialogs --kiosk --incognito https://localhost
If you remove the „–kiosk“ the chrome browser will start just normal. This might help if you have something to debug (Remote debug Chrome browser on Raspberry Pi).
To finally remove the cursor to the following:
sudo nano /etc/lightdm/lightdm.conf
In the „[Seat*]“ section, simple add a line: xserver-command = X -nocursor
Have fun.
cheers.
Sebastian

For Android, we are using Scalefusion kiosk app