I do a lot of Raspberry Pi projects and experiments. But I barely never use a directly connected monitor, mouse or keyboard. I always use it via terminal and do everything over remote connection. But at the very first point you have to setup the Raspberry Pi with an operating system and enable network connection.
I am using the Raspian OS, so Linux Debian. I download the standard version from https://www.raspberrypi.org/downloads/raspbian/ (currently Debian 10 Buster – 2020-02-13), without the recommanded software.
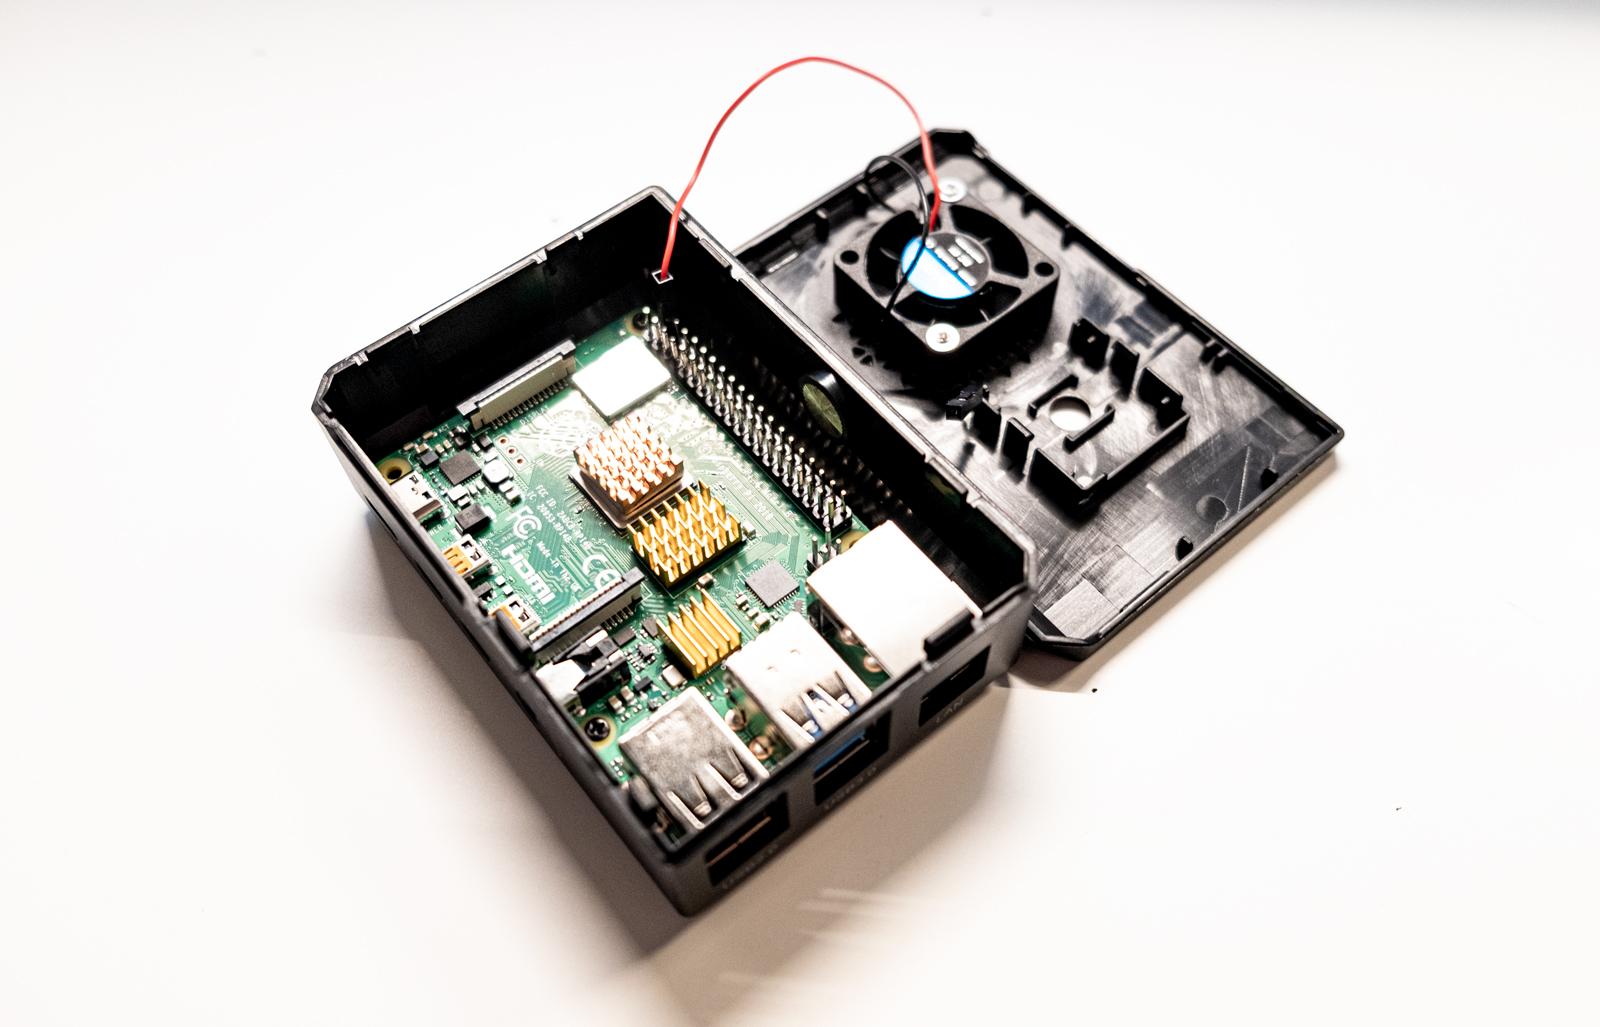
This is running on a Raspberry Pi 4, with 4GB RAM.
1. Flash Micro SD Card
First you need to flash the micro SD card. You could use the Raspberry Imager software https://www.raspberrypi.org/downloads/. I just download the image and flash the micro SD card with https://www.balena.io/etcher/ (OSX).
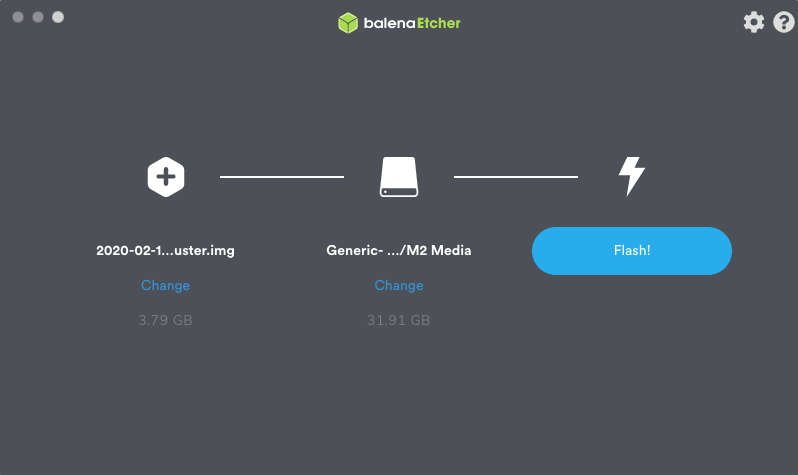
Now you have the system data on your hard drive. What we also need are and enabled SSH connection and network connection, in my case an enabled and connected WiFi.
2. Enable SSH Connection
By default SSH connections are disabled, so you would not be able to connect from your own terminal to the Raspberry Pi OS. You have to enable the SSH interface.
After you flashed the micro SD card you need to access the SD card just like a normal memory card. By default the micro SD card will be named „boot“ as device name.
To enable the SSH interface you just need to create an empty file called „ssh“ directly on the SD card. If you use Windows please make sure that there is no file extension. The filename need just to be „ssh“.

This will allow an SSH connection to your newly setup Raspberry Pi.
3. Setup WiFi Connection
Running within a WiFi network we need to get the Raspberry Pi know the network name (SSID) and the network password. We just need to create another file named „wpa_supplicant.conf“ which holds the configuration data. Copy the following data into the file:
ctrl_interface=DIR=/var/run/wpa_supplicant GROUP=netdev
update_config=1
network={
  ssid="WIFI-SSID"
  psk="PASSWORD"
  key_mgmt=WPA-PSK
}
You just need to replace the „WIFI-SSID“ with your local WiFi name and „PASSWORD“ with your WiFi password.
If you connect the Raspberry Pi via ethernet you can skip this step.
4. Find out IP address and connect
Once you connected the power to the Raspberry the machine should boot. The SSH interface is enabled and if you choose WiFi it should be available within your network.
If you have a network router you could check the there for the IP address of your new Raspberry.
If you could not find out the IP address via your router you could read here how to find your device: https://blog.sebastian-martens.de/technology/find-raspberry-pi-in-network/
5. Connect via SSH
Once you know the IP address you could connect to the Raspberry Pi. Open you terminal and connect via SSH using the default username and password. The default username is „pi“ the default password is „raspberry“.
ssh pi@192.168.1.xxxFirst thing you should do now is to change your password. Use „passwd“ to set a new password for the user „pi“.
6. Enable VNC Remote Screen
In case you need to remotely log into your Raspberry Pi via Remote Desktop you could use the VNC Viewer. You need to install the VNC viewer on your computer from here: https://www.realvnc.com/de/connect/download/viewer/
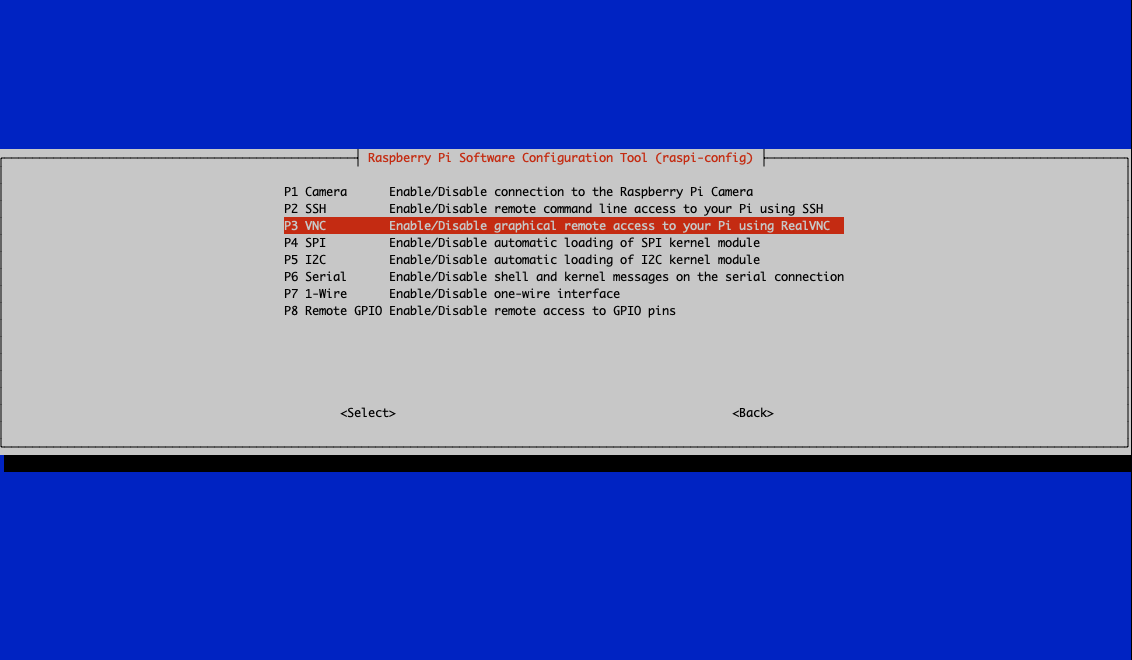
First you need to enable the VNC interface. Use terminal and enter the command while logged into the Raspberry Pi
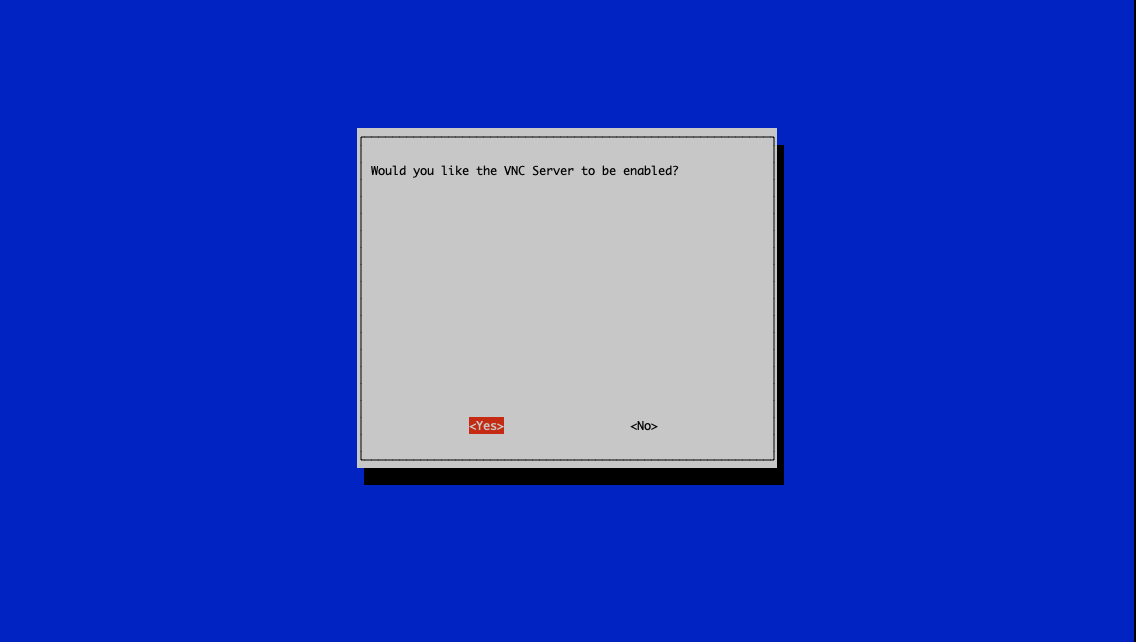
sudo raspi-configThis will open the Raspberry Pi basic setup where you could change the configuration and enable the VNC interface, which is disabled by default:
For the best result you should also setup the Raspberry Pi resolution. use the „Advanced options“ and resolution. You could set it to e.g. 1024px. Complete the raspi-config. This will restart the machine.
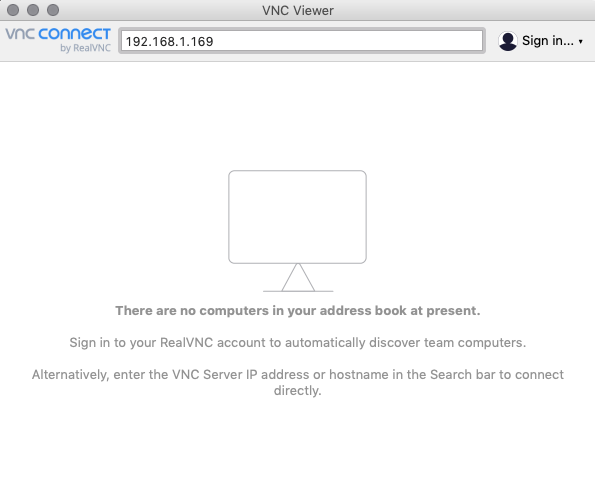
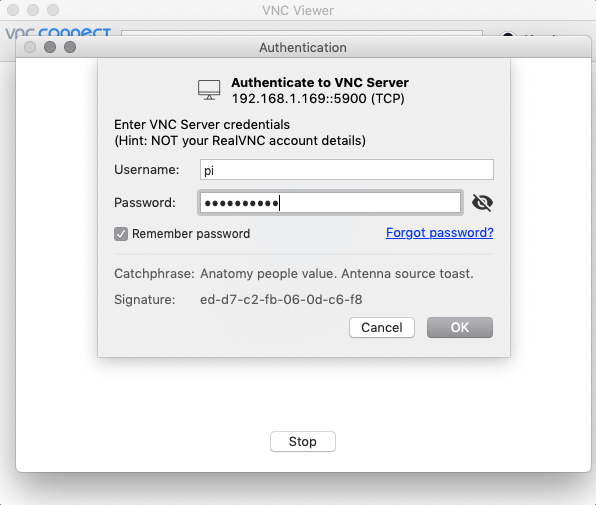
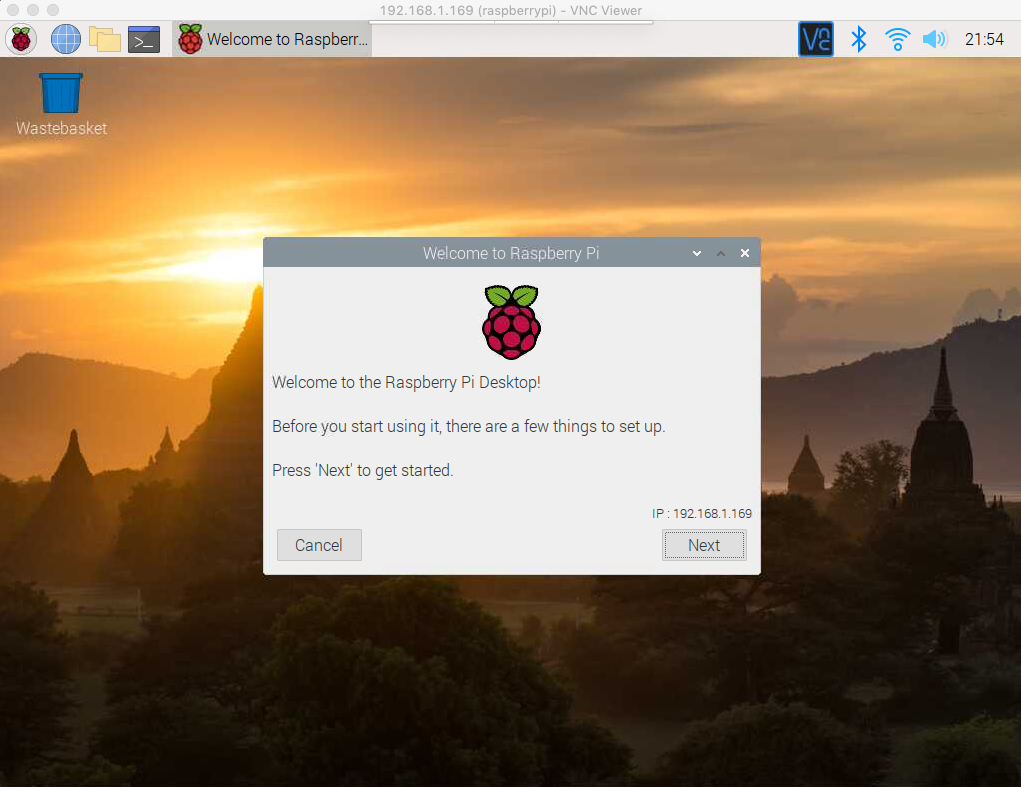
After this you could use your local VNC Client software and connect to your Raspberry Pi with the known IP address, username and password.
Hope this helps you. Enjoy your Raspberry Pi project.
cheers,
Sebastian
